As a twenty-year-old product design firm with a history of designing, engineering, and manufacturing 3D printers, we built Spark with a simple goal: to make a reliable, affordable, and professional 3D printer that we would love to use.
We’ve prototyped with over # 3D printers since we fired up [Tool’s first 3D printer] in [year]. Spark+ ties together all of our best experiences using them to built functional products for clients in a range of industries.
01
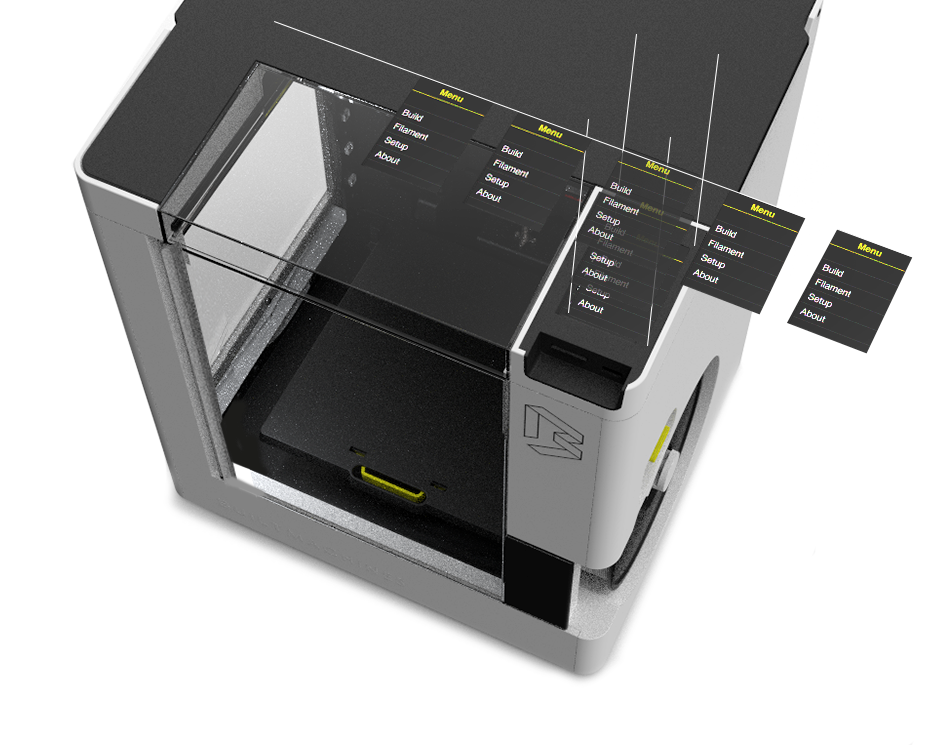
Manual-Free Setup
The Spark+ machine ships fully assembled. Just plug it in, and the multi-touch interface will guide you from powered-on to ready-to-print in [seven] simple steps.
01
Removable Build Platforms
Built from flexible [ABS], Spark’s heated print bed helps your parts adhere during the critical first layer of printing. When they’re done, bend the platform to help pop them off.
We have built this machine to accept constant firmware updates from our growing community. This growth strategy allows our hardward to be utilized in more efficient ways when our amazing users uncover advancements in how the printer can perform.
02
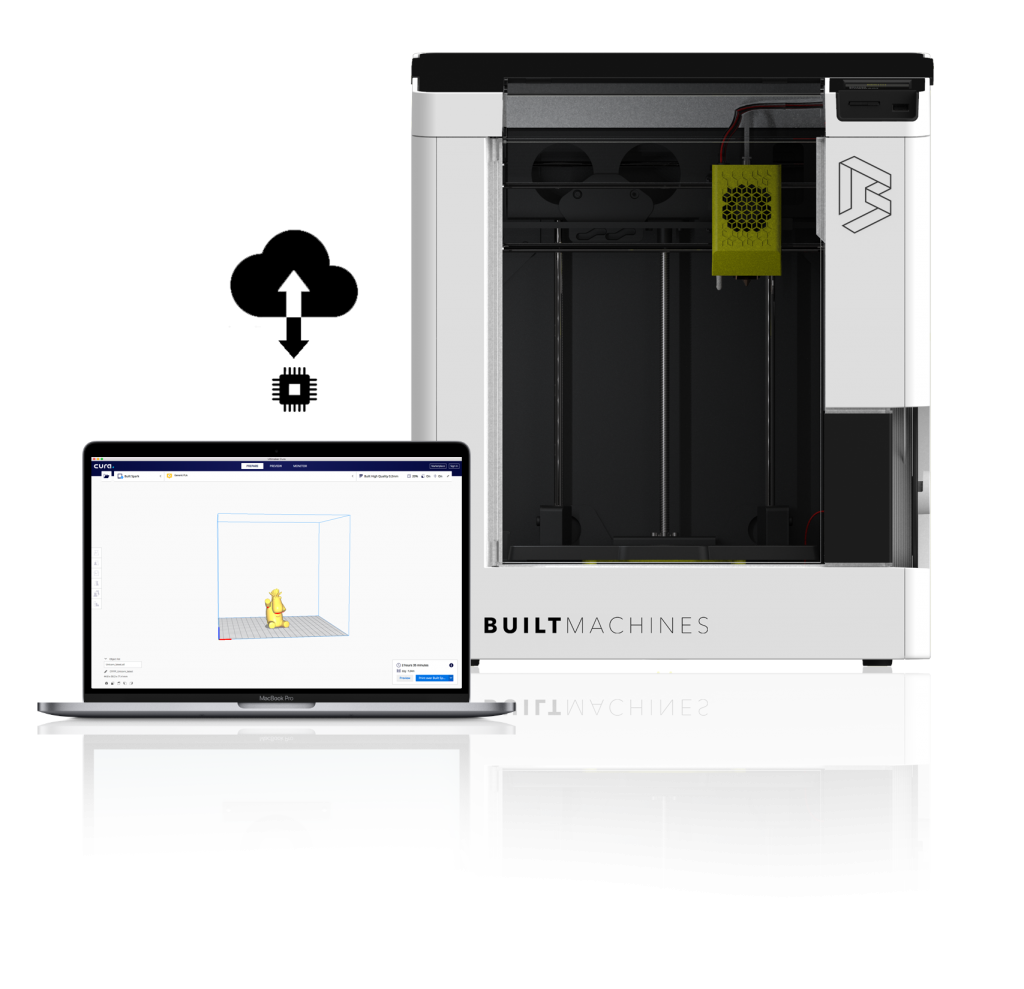
Cura is The Ultimate Open-Sourced 3D Printer Software Available to Anyone
The Spark+ machine ships fully assembled. Just plug it in, and the multi-touch interface will guide you from powered-on to ready-to-print in [seven] simple steps.
Four lines that describe this step and some of the things you should know. This could also be a good place to refer people to resources (e.g. how to design for 3D printing, how to design for injection molding, etc.)
STEP 02
Process Your Model In Cura
Four lines that describe this step and some of the things you should know. This could also be a good place to refer people to resources (e.g. how to design for 3D printing, how to design for injection molding, etc.)
STEP 03
Build Your Idea
This is placeholder text: High-fidelity wireframes are often used for documenting because they incorporate a level of detail that more closely matches the design of the actual webpage, thus taking longer